 |
|

Deck Tile Waterproofing |
||
| AUCKLAND DECK TILE WATERPROOFING | ||
|
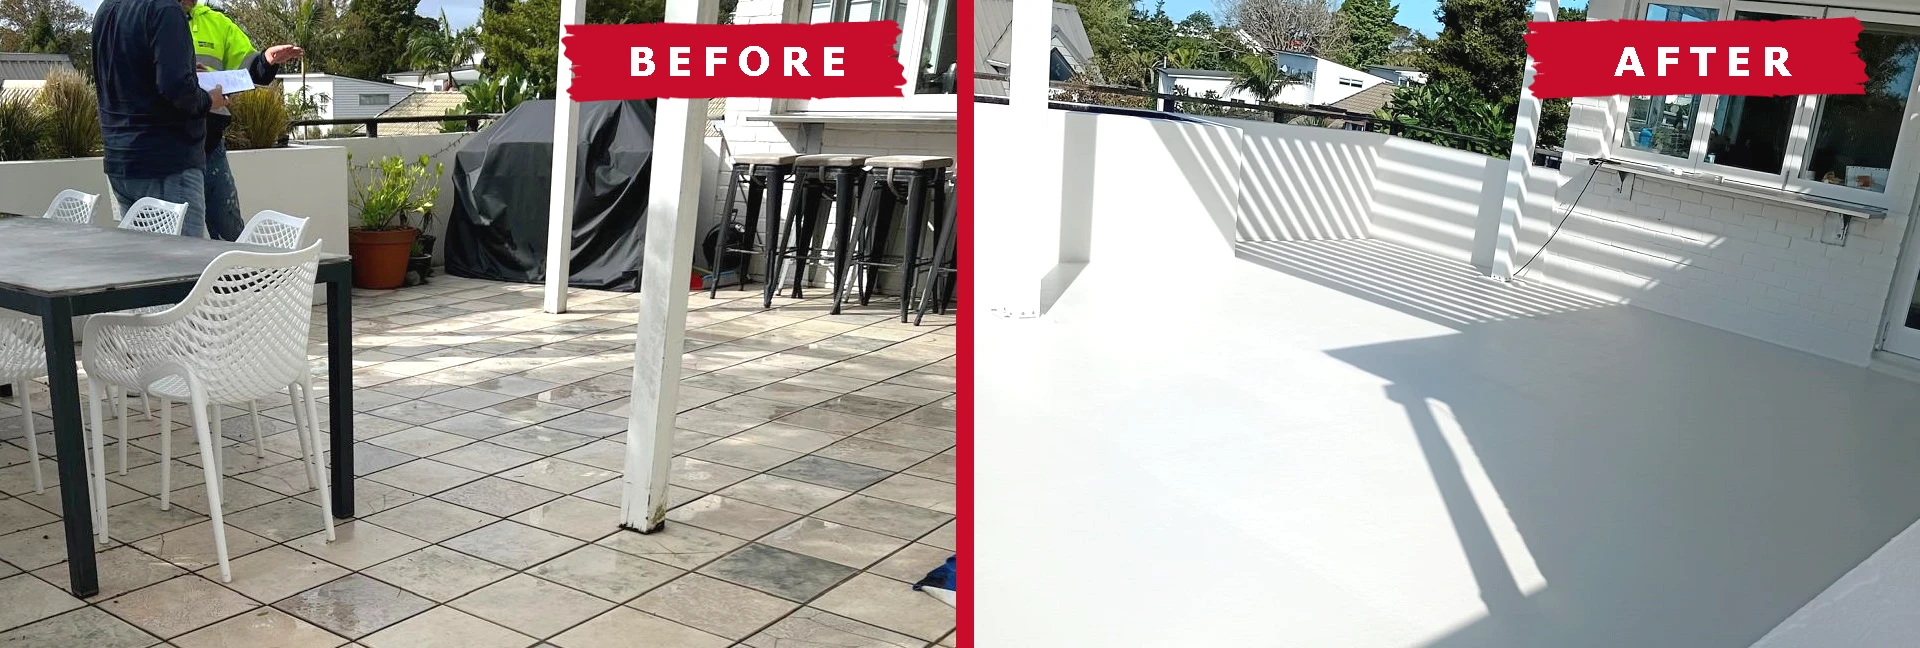
Waterproofing over existing deck tiles involves either applying clear coatings/membranes like ClearProof or Blockout Clear to seal the surface without removal, or using specialized primers like Grips at OP before tiling over with new tiles or systems like Butynol membrane for a full redo. Key steps include thorough cleaning, ensuring proper pitch for drainage (adding shims if needed), applying the waterproofing product in multiple coats, and ensuring wall flashing for seamless protection. |
||
Why Waterproofing Over Existing Tiles? |
||
| Choosing to waterproof over existing tiles offers several advantages. It minimizes disruption to your home, avoiding the dust and debris associated with tile removal. It’s also a quicker solution, allowing you to complete your waterproofing project faster. Financially, it can be a more attractive option as you bypass demolition and new tile installation costs.
However, it’s important to note that waterproofing over existing tiles is most effective when the existing tiles are in good condition. If you have loose, cracked, or severely damaged tiles, addressing those issues first is essential. A stable and sound surface is crucial for a successful waterproofing application. |
||
|
||
Preparing the Existing Deck Tiles Surface |
||
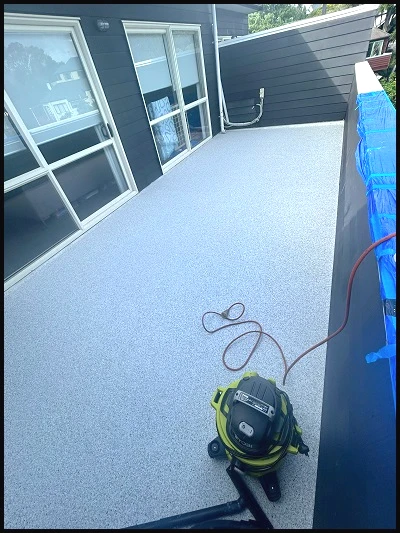
| Once the surface is properly prepared,
we can apply the waterproofing membrane. Here are the general
steps in a nutshell, but we always follow the manufacturer’s instructions for the specific product
in use: 1. Mixing the Membrane: If a two-part waterproofing membrane, mix the components according to the manufacturer’s instructions. 2. Apply primer: Apply a thin, even coat of the waterproofing primer to the tiles using a paint roller, brush, trowel, or squeegee, depending on the type of membrane system. Close attention to corners, edges, and around fixtures. 3. Apply the First Coat: Apply the first coat of the waterproofing membrane as per supplier specifications, and allow the first coat of the waterproofing membrane to dry completely according to the manufacturer’s instructions. 4. Apply the Second Coat: Apply a second coat of the waterproofing membrane, again ensuring even coverage. Apply the second coat perpendicular to the first coat. This helps ensure complete coverage and a watertight seal. 5. Allow to Cure: Allow the waterproofing membrane to cure completely according to the manufacturer’s instructions. This may take several days, again ensuring even coverage, this ensure complete coverage and a watertight seal. | ||
Video - Waterproofing Over Existing Tiles |
||
| WATERPROOF OVER THE TOP OF EXISTING DECK TILES & WET AREA TILES AND LEARNING THE DIFFERENT THINGS YOU SHOULD LOOK OUT WHEN WATERPROOFING OVER EXISTING TILES | ||
| Deck Waterproofing Coatings for all types of deck. GRIPSET products is to be installed by Approved Contractors only. | ||
| If you have any deck questions please call us on 027 213 3220 or visit us at our office at 110 Don McKinnon Drive, Albany. | ||
Final Thoughts: A Dry Outcome, Done Right |
||
| Waterproofing over existing tiles can be a smart and cost-effective solution when the substrate is sound. Success comes down to proper assessment, thorough surface preparation, and the correct application of a high-quality waterproofing membrane in line with manufacturer specifications.
When done correctly, this approach delivers a durable, watertight barrier that protects your home from moisture damage for years to come. As always, attention to detail and allowing each step to cure properly are key to achieving a long-lasting result. Link: https://www.reddit.com/waterproofing_over_existing_tiles/ |
||
 |
| Copyright © 2026 - Powered by: H2OFF Auckland Limited | Deck Repair, Auckland, New Zealand |
| Privacy Policy | Term and Conditions | Site Map | H2OFF Auckland |